Ultimate Guide to AC Troubleshooting: 7 Key Steps
You might occasionally notice your air conditioning system isn’t performing as efficiently as it should. Understanding the critical steps to troubleshoot your AC can save you time and money. Start by checking the thermostat settings. Sometimes, the solution is as simple as recalibrating or adjusting the temperature. Next, inspect the air filters, as clogged filters can severely impact airflow. But that’s just the beginning. Each of the seven key steps is important in maintaining your AC’s performance and efficiency, ensuring you stay cool without unnecessary hassle. Are you curious about the remaining steps and how they can help?
Key Takeaways
- Check and recalibrate the thermostat for accurate temperature settings.
- Inspect and clean or replace air filters regularly to ensure proper airflow.
- Examine the circuit breaker for any tripped switches or damage.
- Inspect and clean the condenser unit’s coils and ensure the fan operates correctly.
- Monitor refrigerant levels and check for leaks to maintain cooling efficiency.
Check the Thermostat
Begin your AC troubleshooting by confirming that the thermostat is set to the correct temperature and mode. Start by checking that the thermostat is in ‘cool’ mode and set to a temperature lower than the current room temperature. This basic step can help determine if your AC receives the necessary operating signals.
Next, examine your thermostat's calibration settings. Over time, thermostats can lose accuracy, leading to incorrect temperature readings. Refer to your thermostat’s manual to recalibrate it if necessary. Proper calibration ensures that your thermostat accurately reflects the room’s temperature, enabling your AC to function efficiently.
Additionally, inspect the thermostat’s batteries to see if it’s a battery-operated model. Dead or low batteries can cause the thermostat to malfunction or lose its settings. If needed, perform a battery replacement using the type recommended by the manufacturer to maintain peak performance. This simple step can often resolve issues without requiring further intervention.
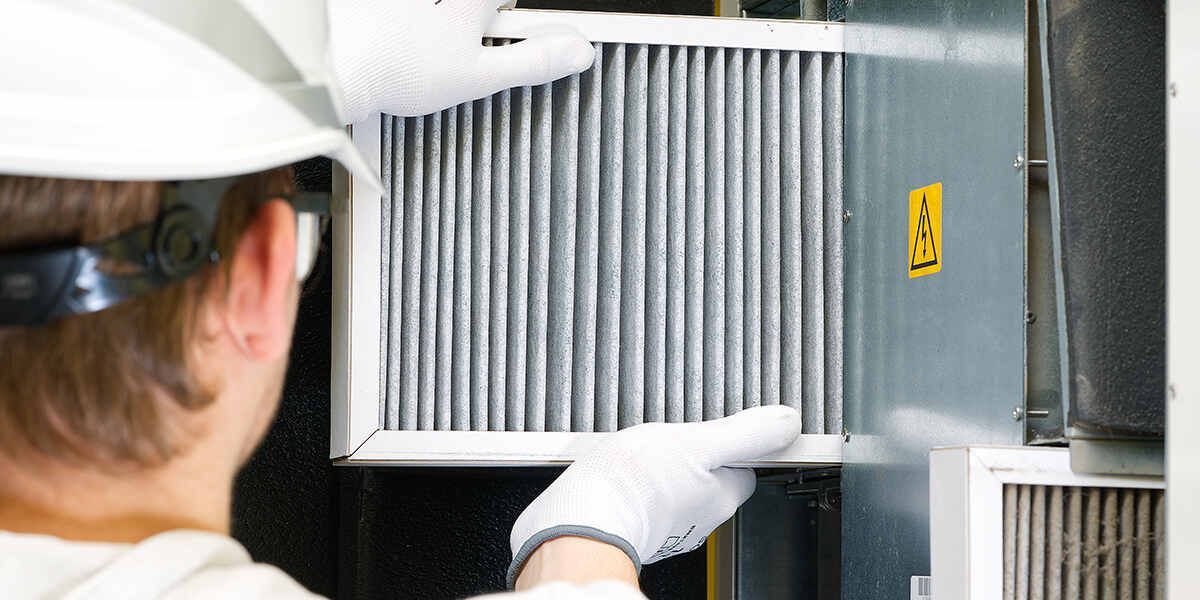
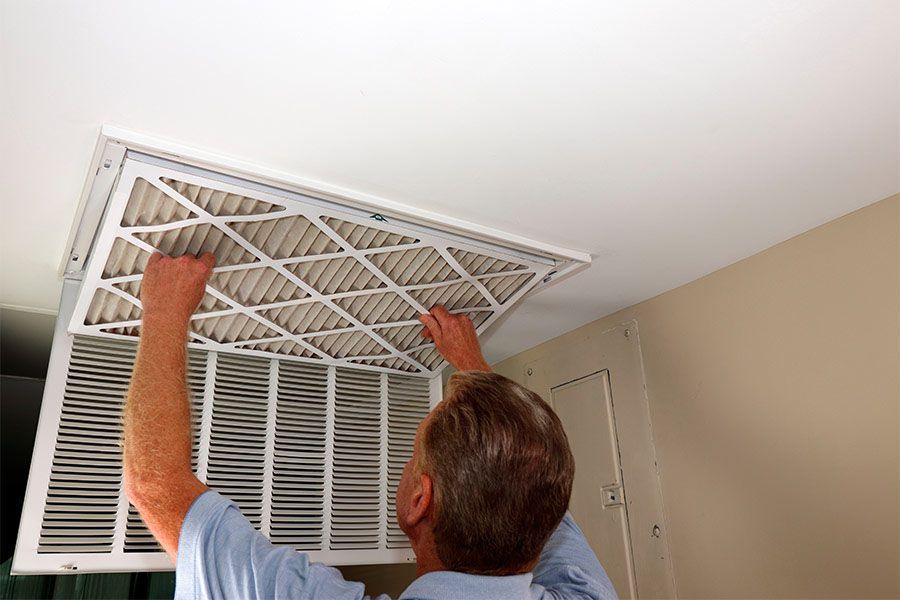
Inspect the Air Filters
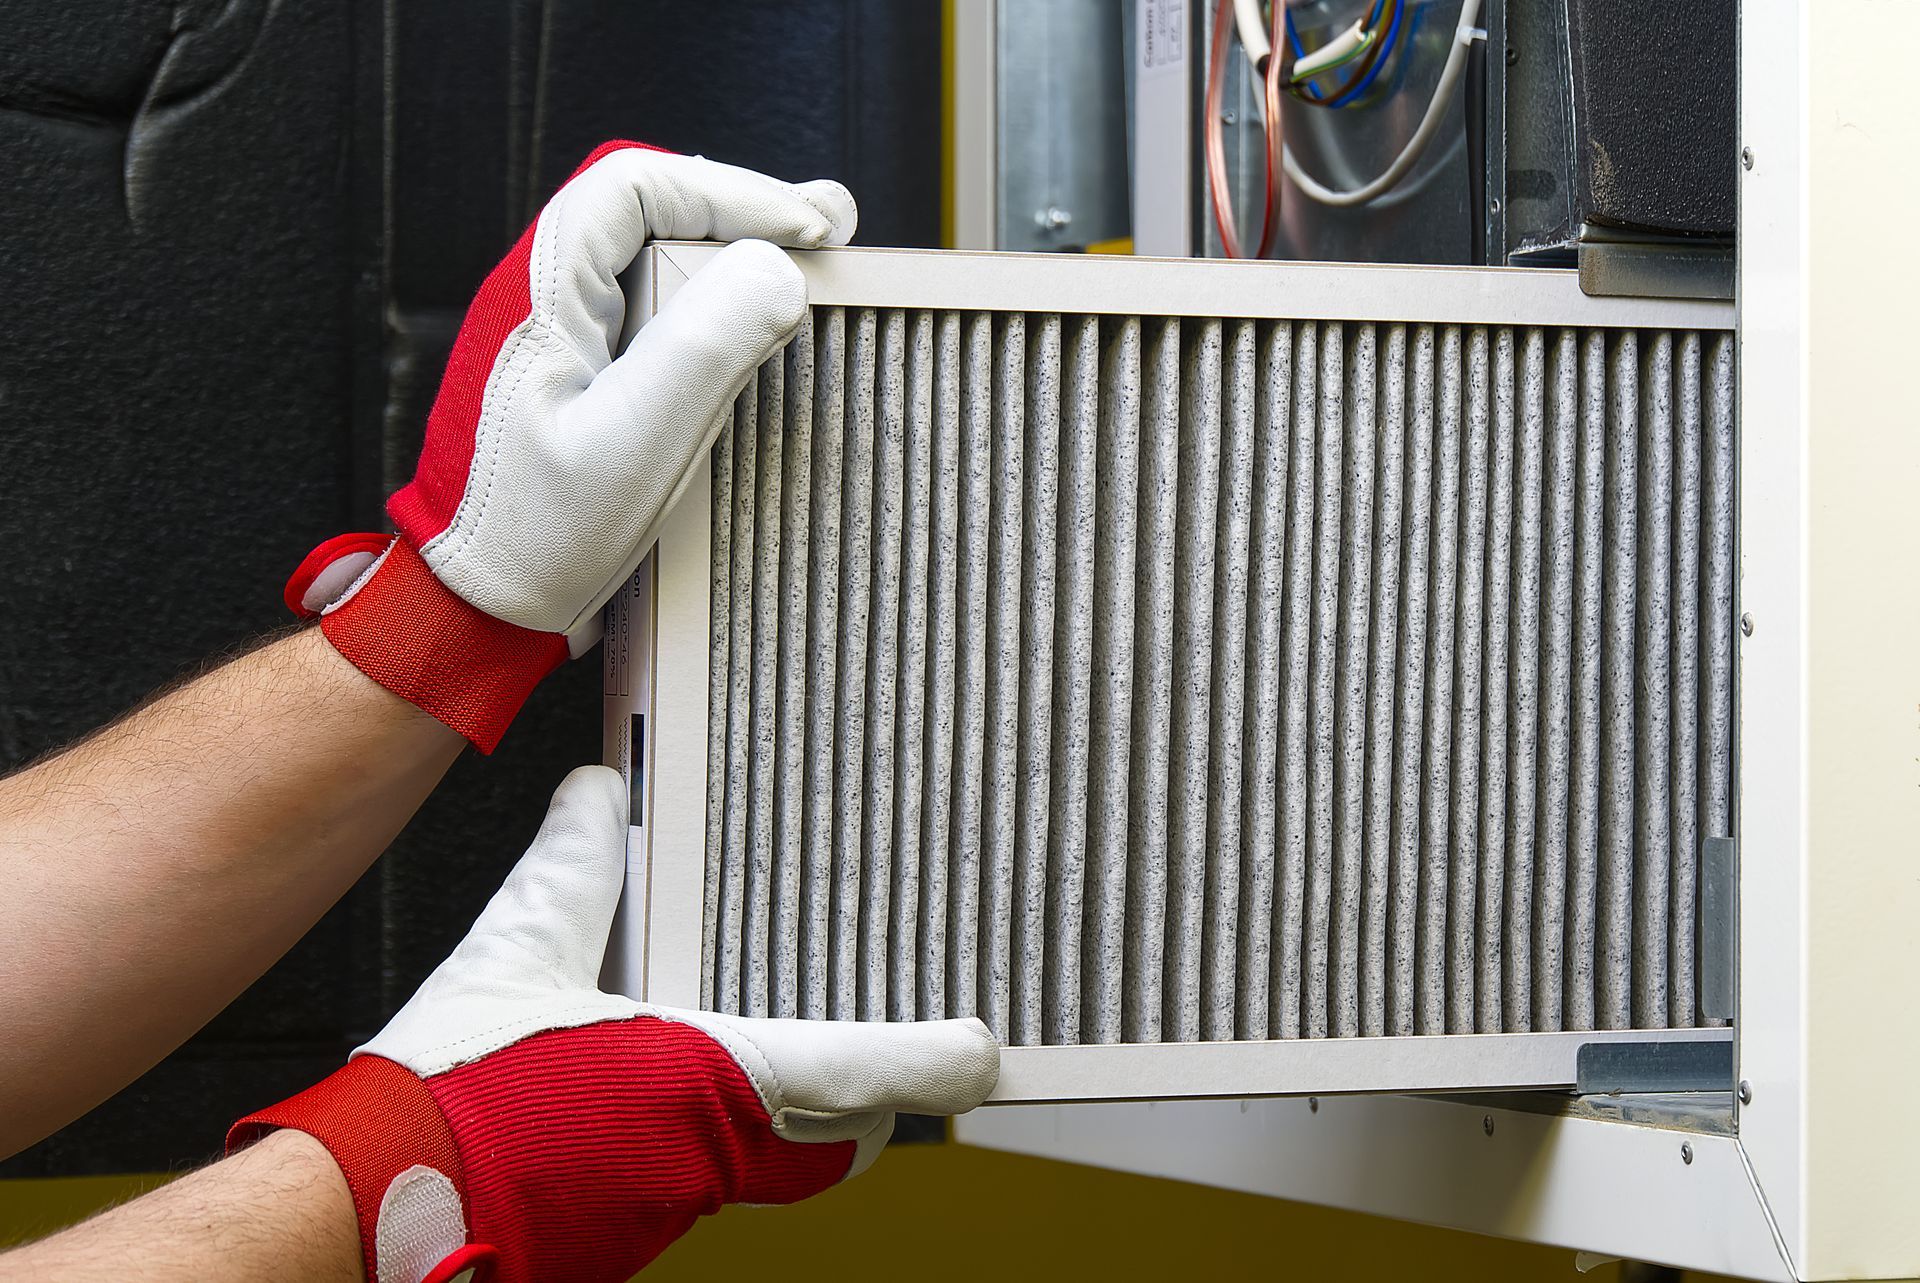
Regularly inspecting your air filters is vital for maintaining your AC’s efficiency and guaranteeing clean air circulation. Filter maintenance is important because clogged or dirty filters restrict airflow, causing your system to work harder and potentially leading to overheating or other serious issues. To begin, turn off your AC unit to ensure safety. Locate the filter, typically found in the return air duct or blower compartment.
Remove the filter and hold it up to a light source; if you can’t see through it, it’s time for an AC filter replacement or cleaning. Depending on your specific AC model and the type of filter, you may need to replace it every one to three months. For reusable filters, follow the manufacturer’s instructions for cleaning, usually involving rinsing with water and allowing it to dry completely before reinserting.
Neglecting filter maintenance can lead to significant airflow issues, reducing the system’s efficiency and increasing energy costs. Additionally, dirty filters can compromise indoor air quality, exacerbating allergies and respiratory issues. Regularly scheduled inspections and replacements will ensure your AC operates at peak performance, providing you with consistent, clean, and cool air.
Examine the Circuit Breaker
Inspecting the circuit breaker is important in troubleshooting your AC, especially if the unit won’t turn on. Start by locating your home’s electrical panel in the basement, garage, or utility room. Open the panel door and look for the breaker labeled for your AC unit. Circuit breakers come in different types, but most residential systems use single-pole or double-pole breakers.
Examine the breaker to see if it has tripped. A tripped breaker will be in a neutral position, neither fully on nor off. If you find it tripped, switch it off completely before turning it back on. This reset might resolve the issue if the breaker simply needed a reset because of a temporary overload. If the breaker trips again immediately, it could indicate a more serious problem, such as a short or overloaded circuit, requiring professional attention.
Ensure you check for any signs of damage, like scorch marks or a burning smell, which could signify a dangerous electrical issue. Understanding breaker types and their proper function can help you diagnose and fix many AC issues without needing to call a professional.
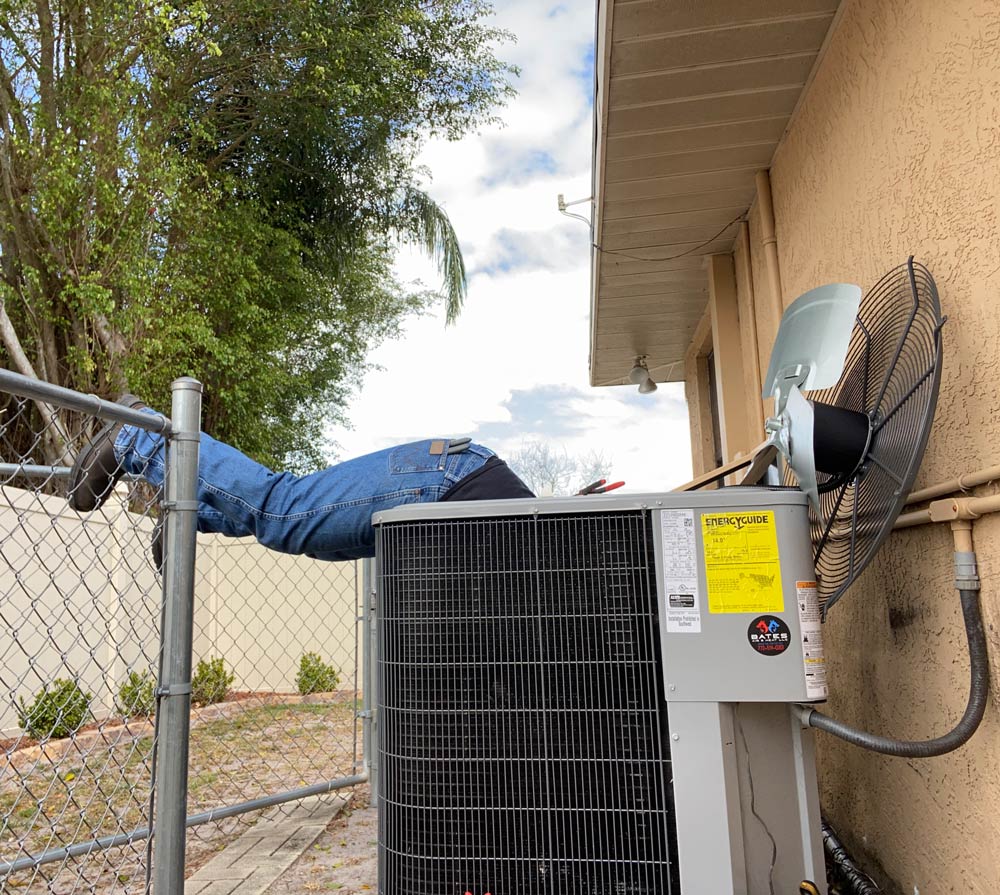
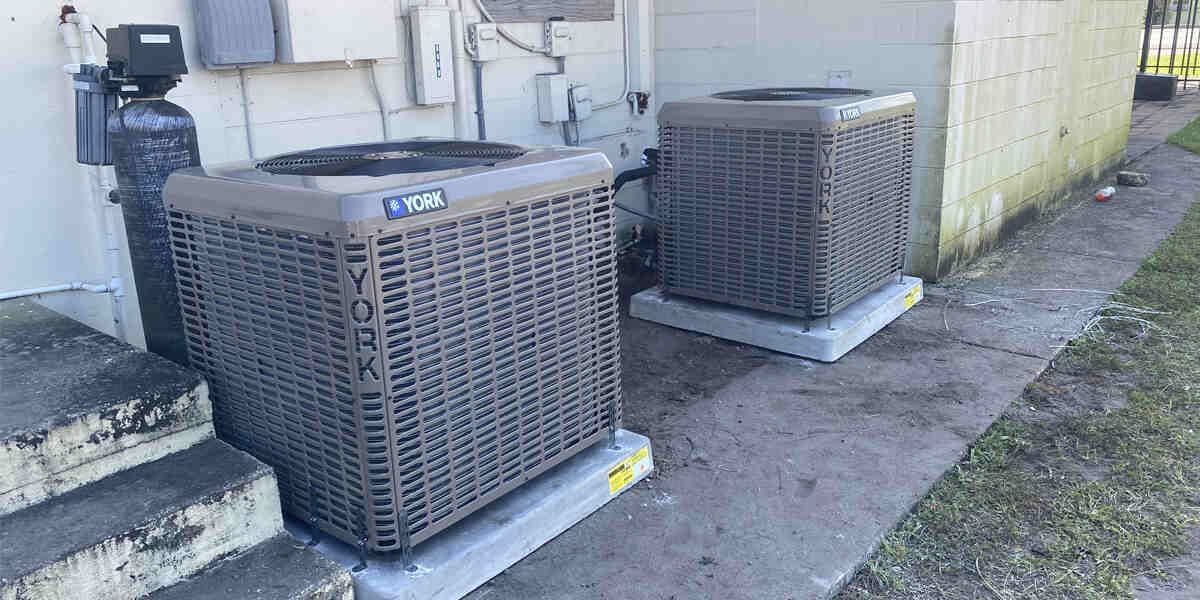
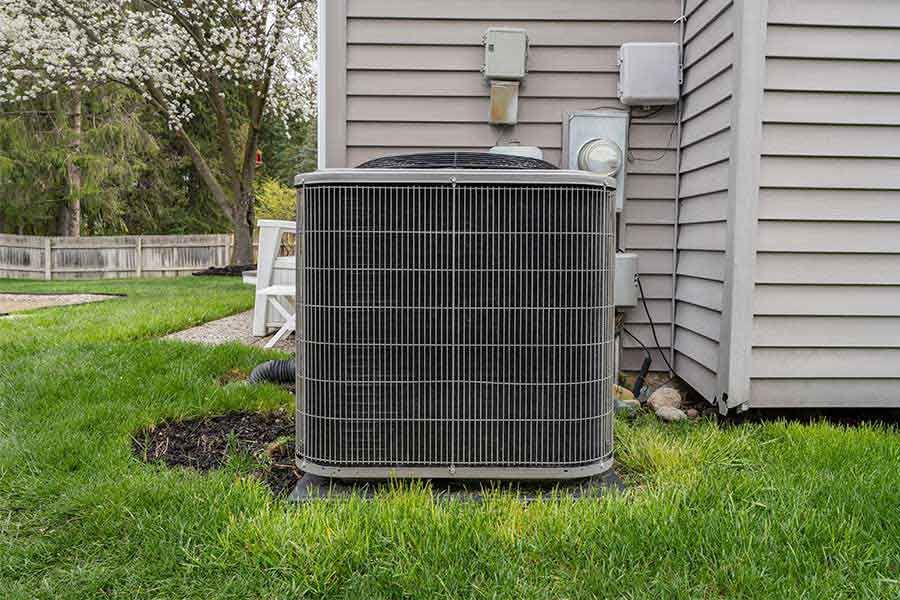
Assess the Condenser Unit
How can you assess the condenser unit to ensure your AC system runs smoothly? Start by examining the condenser unit, which is important to your air conditioning system’s efficiency. Here are three key steps to follow:
- Inspect the Coils: Dirty coils can greatly reduce your unit's efficiency. Clean coils are necessary for the best heat exchange, so remove any debris, dust, or dirt that may have accumulated. For this task, you can use a soft brush or a vacuum cleaner with a brush attachment.
- Check the Fan Condition: The fan within the condenser unit moves air across the coils. Examine the fan blades for damage or wear and tear. Ensure that the fan spins freely without obstructions. If the fan isn’t working correctly, it can lead to overheating and reduced efficiency.
- Evaluate the Unit’s Surroundings: Make sure that there is adequate clearance around the condenser unit. Overgrown vegetation, leaves, and other debris can block airflow, causing the unit to work harder than necessary. Trim any nearby plants and remove any obstructions to maintain proper airflow.
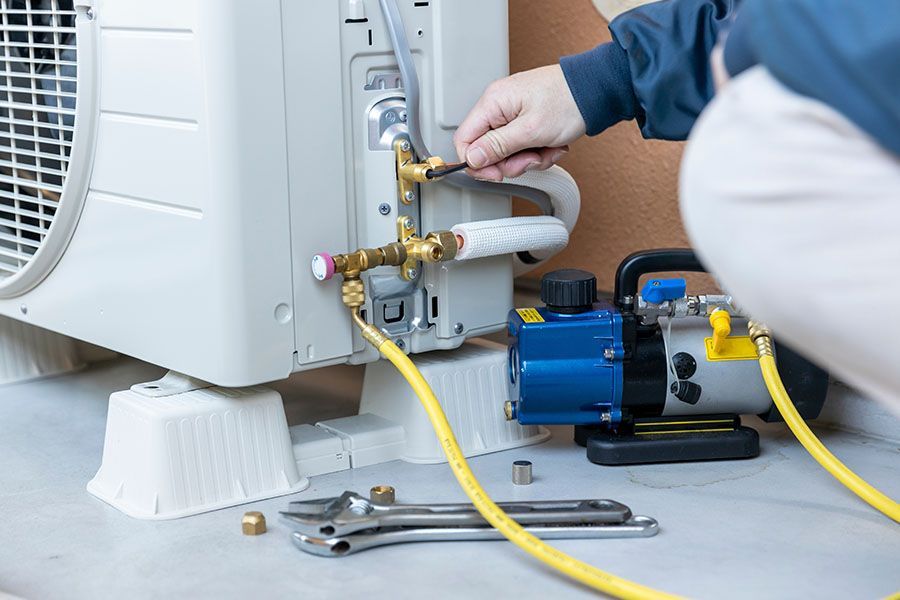
Look for Refrigerant Leaks
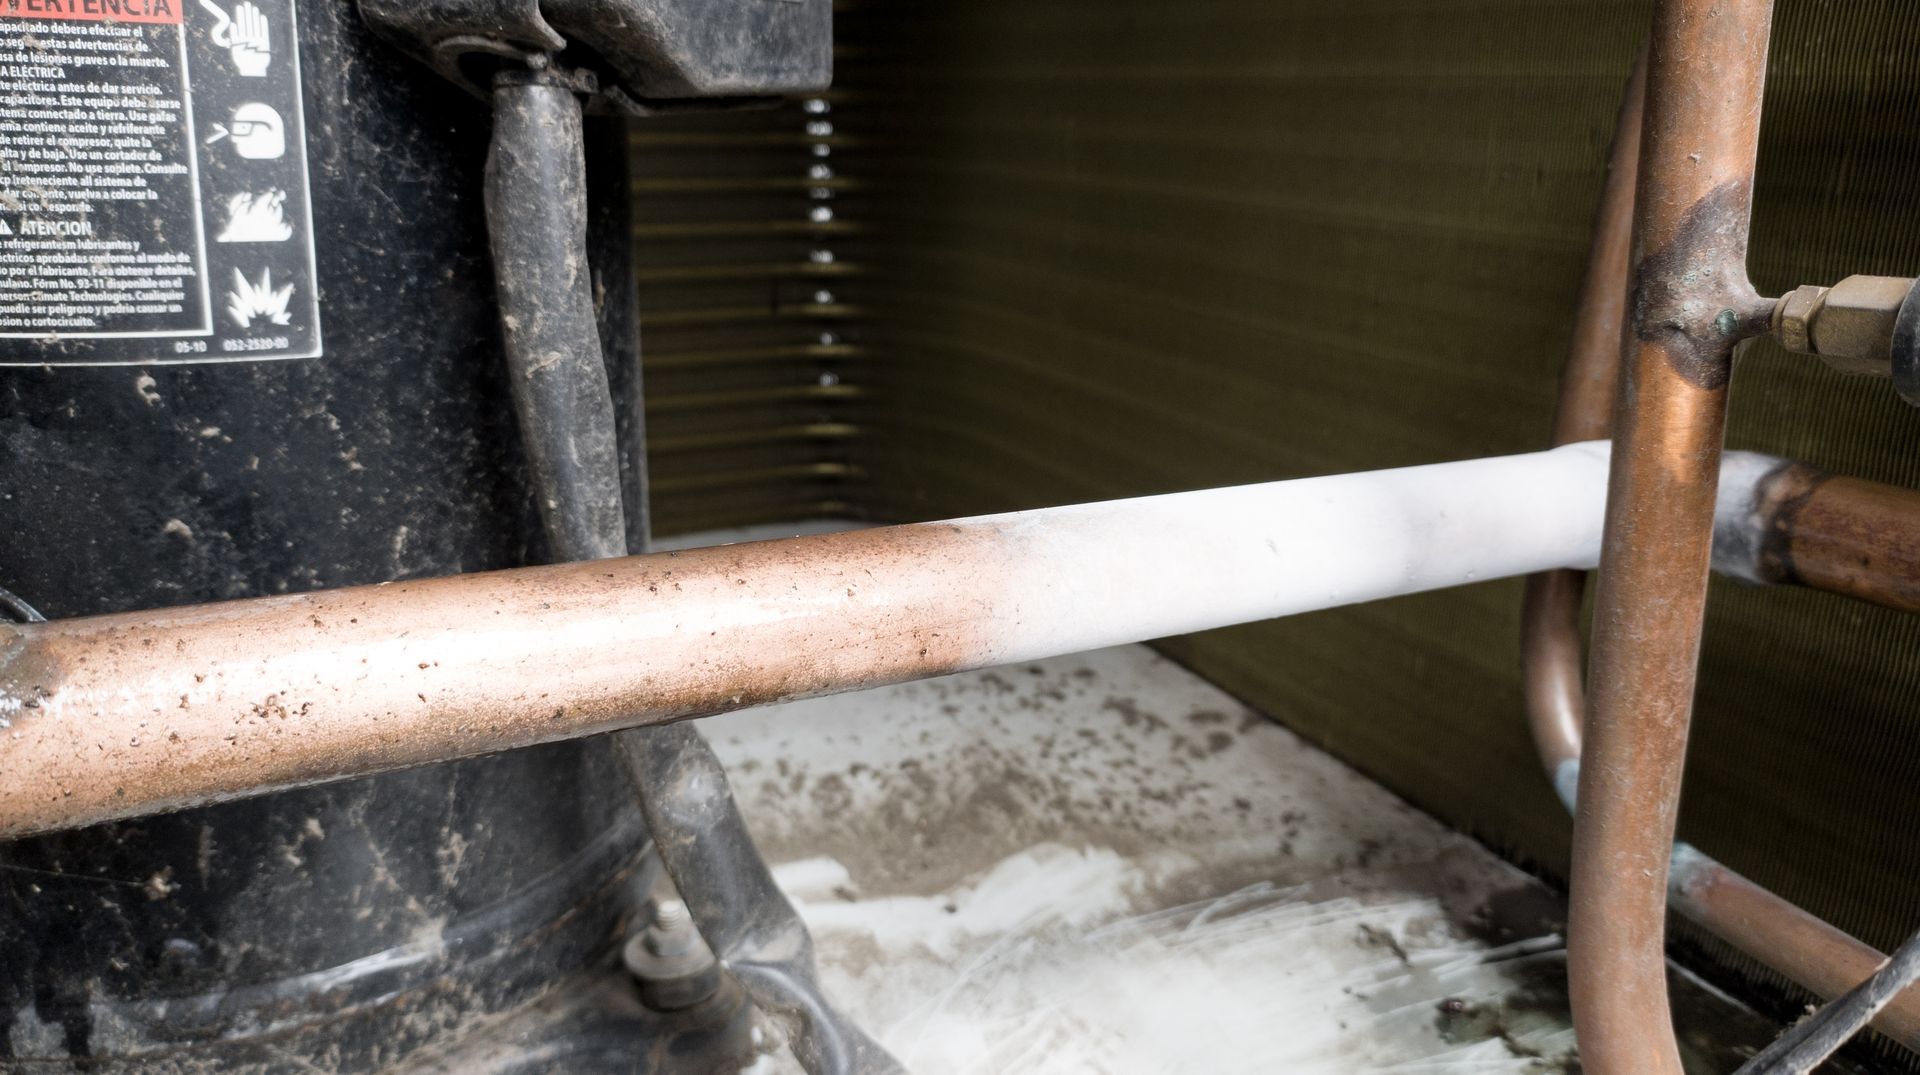
After ensuring the condenser unit is in top shape, the next step is to look for refrigerant leaks that could hinder your AC system’s performance. Refrigerant levels are crucial for your air conditioner to function efficiently, and any leaks can lead to a significant drop in cooling capacity. To begin, visually inspect the refrigerant lines for oily residue, often indicating a leak. Listen for a hissing sound near the indoor or outdoor unit, indicating escaping refrigerant.
If you suspect a leak but can’t locate it, consider using a leak detection kit. These kits often include a dye that you can introduce into the system, making it easier to spot leaks under UV light. While these methods can be effective, identifying and repairing refrigerant leaks requires a professional inspection. HVAC technicians have the tools and expertise to perform refrigerant leak repair accurately, ensuring your system maintains ideal refrigerant levels.
Neglecting refrigerant leaks can lead to increased energy consumption and reduced cooling efficiency, so addressing this issue promptly is vital. Regular maintenance checks can help you catch potential problems early, preventing costly repairs and extending the lifespan of your AC unit.
Test the Evaporator Coils
Checking the evaporator coils is crucial to ensure your AC system operates efficiently. Start by ensuring the coil's cleanliness, as dirty coils can impair your system’s performance. Here’s a step-by-step guide to help you test the evaporator coils effectively:
- Visual Inspection: Open your AC unit and inspect the evaporator coils for dirt, dust, or ice buildup. Clean coils allow for efficient heat exchange, so make sure there’s no obstruction.
- Measure Temperature Readings: Use a digital thermometer to measure the temperature of the air entering and exiting the evaporator coil. Place the thermometer on the return air duct (incoming air) and the supply air duct (outgoing air). A significant temperature drop, typically between 15 and 20 degrees Fahrenheit, indicates that your coils are working correctly.
- Check for Ice Formation: If you notice ice on the coils, it could signify restricted airflow or low refrigerant levels. Either scenario suggests that professional maintenance might be necessary.
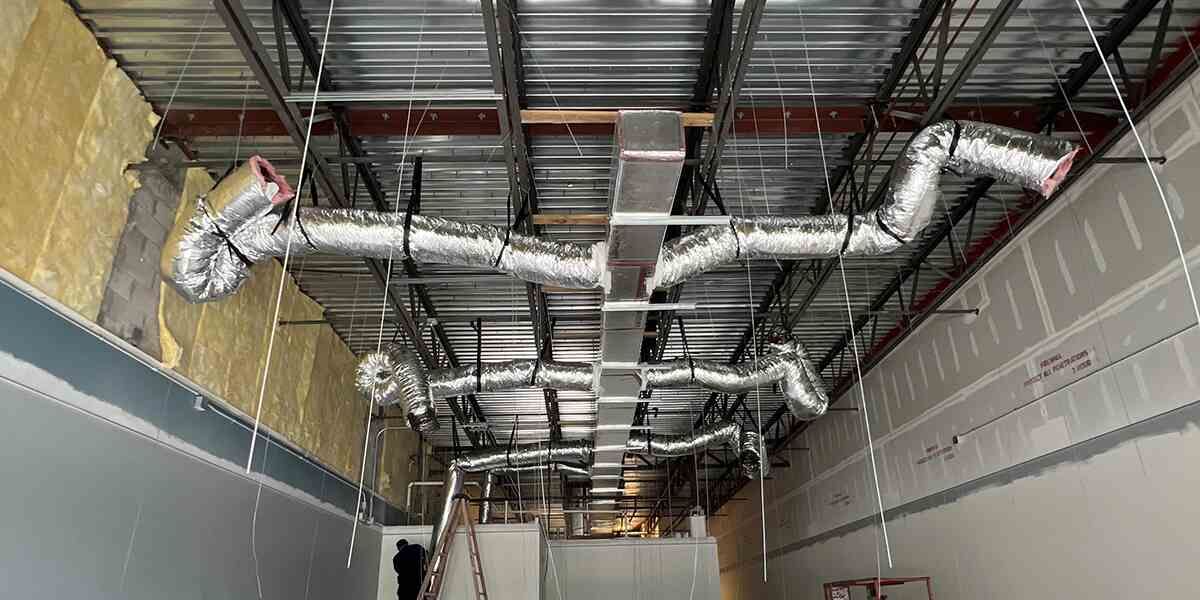
Evaluate the Ductwork
Now that you’ve confirmed the evaporator coils are functioning properly, it’s time to assess the ductwork for any issues hindering your AC system’s performance. Start by examining the duct insulation, ensuring it is intact and effectively covering all duct surfaces. Poor insulation can lead to significant energy losses, reducing the efficiency of your cooling system.
Next, check for airflow obstructions within the ductwork. These can include debris, dust buildup, or even pest infestations that block airflow, making your AC work harder and less efficiently. You can use a flashlight and a mirror to inspect the ducts’ interior or consult a professional for a more thorough examination.
Even small leaks can lead to considerable energy wastage, as cool air escapes before reaching the intended rooms. Seal leaks with appropriate duct tape or mastic sealant to maintain peak airflow.
The Bottom Line
Just like maintaining the health of a well-oiled machine, keeping your AC in top shape involves systematic care and vigilance. By following these seven steps: checking the thermostat, inspecting air filters, examining the circuit breaker, evaluating the condenser, looking for refrigerant leaks, testing evaporator coils, and examining ductwork, you guarantee peak performance and longevity. Don’t underestimate the power of regular maintenance; it’s your key to a cool, comfortable home all summer.
Frequently Asked Questions