10 Must-Know Tips for Effective AC Repair
Much like a well-tuned orchestra, your AC system requires each component to function harmoniously for the best performance. You might think effective AC repair is challenging, but following these 10 must-know tips guarantees your unit runs smoothly and efficiently. Each step addresses important aspects of maintenance, from calibrating your thermostat to evaluating the fan motor. Imagine reducing unexpected breakdowns and prolonging your system’s life with just a bit of routine care. Ready to uncover how simple tweaks can make a big difference? Let’s investigate these crucial tips together.
Key Takeaways
- Regularly inspect and replace air filters to ensure optimal airflow and efficiency.
- Check and calibrate the thermostat for accurate temperature readings and system performance.
- Clean evaporator and condenser coils to maintain cooling efficiency and prevent energy waste.
- Seal any leaks in ductwork to avoid energy loss and improve overall system efficiency.
- Ensure tight electrical connections to prevent inefficiency and potential hazards.
Check the Thermostat
Your AC system’s efficiency often hinges on a properly set thermostat. Guaranteeing your thermostat is calibrated correctly can greatly impact your system’s performance. Calibration techniques are crucial for accurate temperature readings; this involves checking the thermostat’s readings against a reliable thermometer. If discrepancies are found, follow the manufacturer’s instructions to recalibrate it.
Start by locating the thermostat’s manual or visiting the manufacturer’s website for specific calibration techniques. Most modern thermostats have a simple calibration process, often involving a series of button presses. You may need to use tools to adjust internal settings for older models. Proper calibration ensures that your AC isn’t working harder than necessary, saving you money on energy bills.
Review your thermostat settings to ensure they match your comfort needs and the season. In summer, set the thermostat to around 78°F when you’re home and higher when you’re away. In winter, aim for 68°F while you’re home and lower while asleep or away. These settings optimize energy use and maintain comfort, ensuring your AC system performs efficiently. Regularly checking and adjusting your thermostat is a simple yet important step in effective AC maintenance.
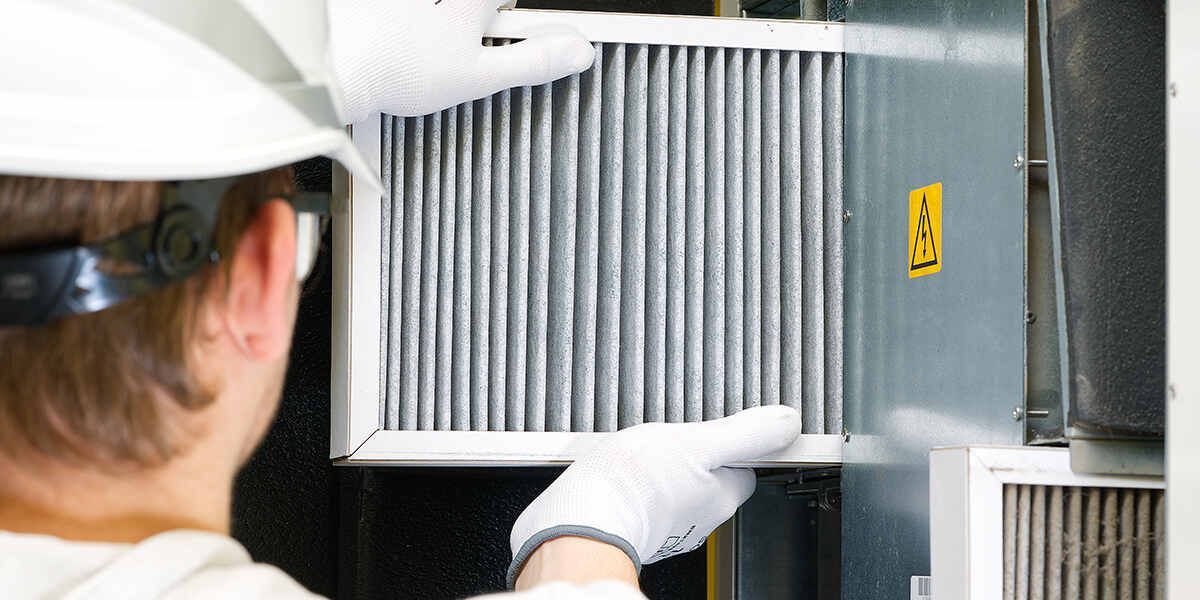
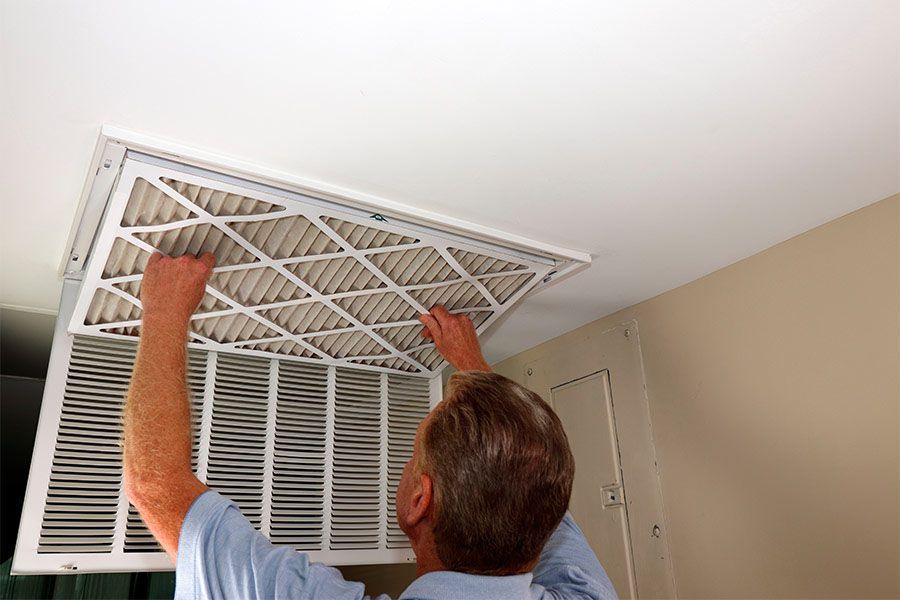
Inspect Air Filters
Regularly inspecting air filters is crucial for maintaining your AC system’s efficiency and indoor air quality. Over time, air filters can become clogged with dust, dirt, and other airborne particles, restricting airflow and forcing your AC system to work harder than necessary. This can lead to higher energy bills and potentially shorten the lifespan of your unit. By monitoring your filter’s condition, you can guarantee top performance and extend the filter's lifespan.
The replacement frequency of your air filters depends on several factors, including the type of filter you use, the overall air quality in your home, and how often you run your AC system. In most cases, checking your filters every 30 days and replacing them every 60 to 90 days is recommended. Nevertheless, if you have pets, allergies, or live in an area with high pollution, you might need to replace them more frequently.
To inspect your air filters, locate the filter compartment near the return air duct and remove the filter. Hold it up to the light; it's time for a replacement if you can’t see through it. Staying proactive about filter maintenance will help keep your AC running smoothly.
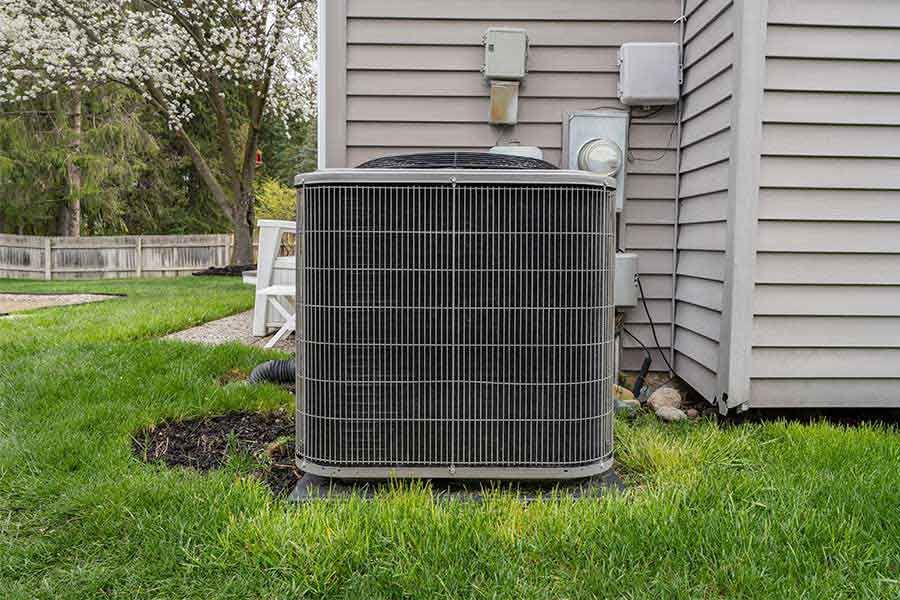
Clean the Coils
Cleaning the coils is essential for maintaining your air conditioner’s efficiency and ensuring it runs smoothly. Your air conditioner has two main coils: the evaporator coil and the condenser coil. Over time, these coils can accumulate dirt and debris, obstructing airflow and reducing the system’s ability to cool your home effectively.
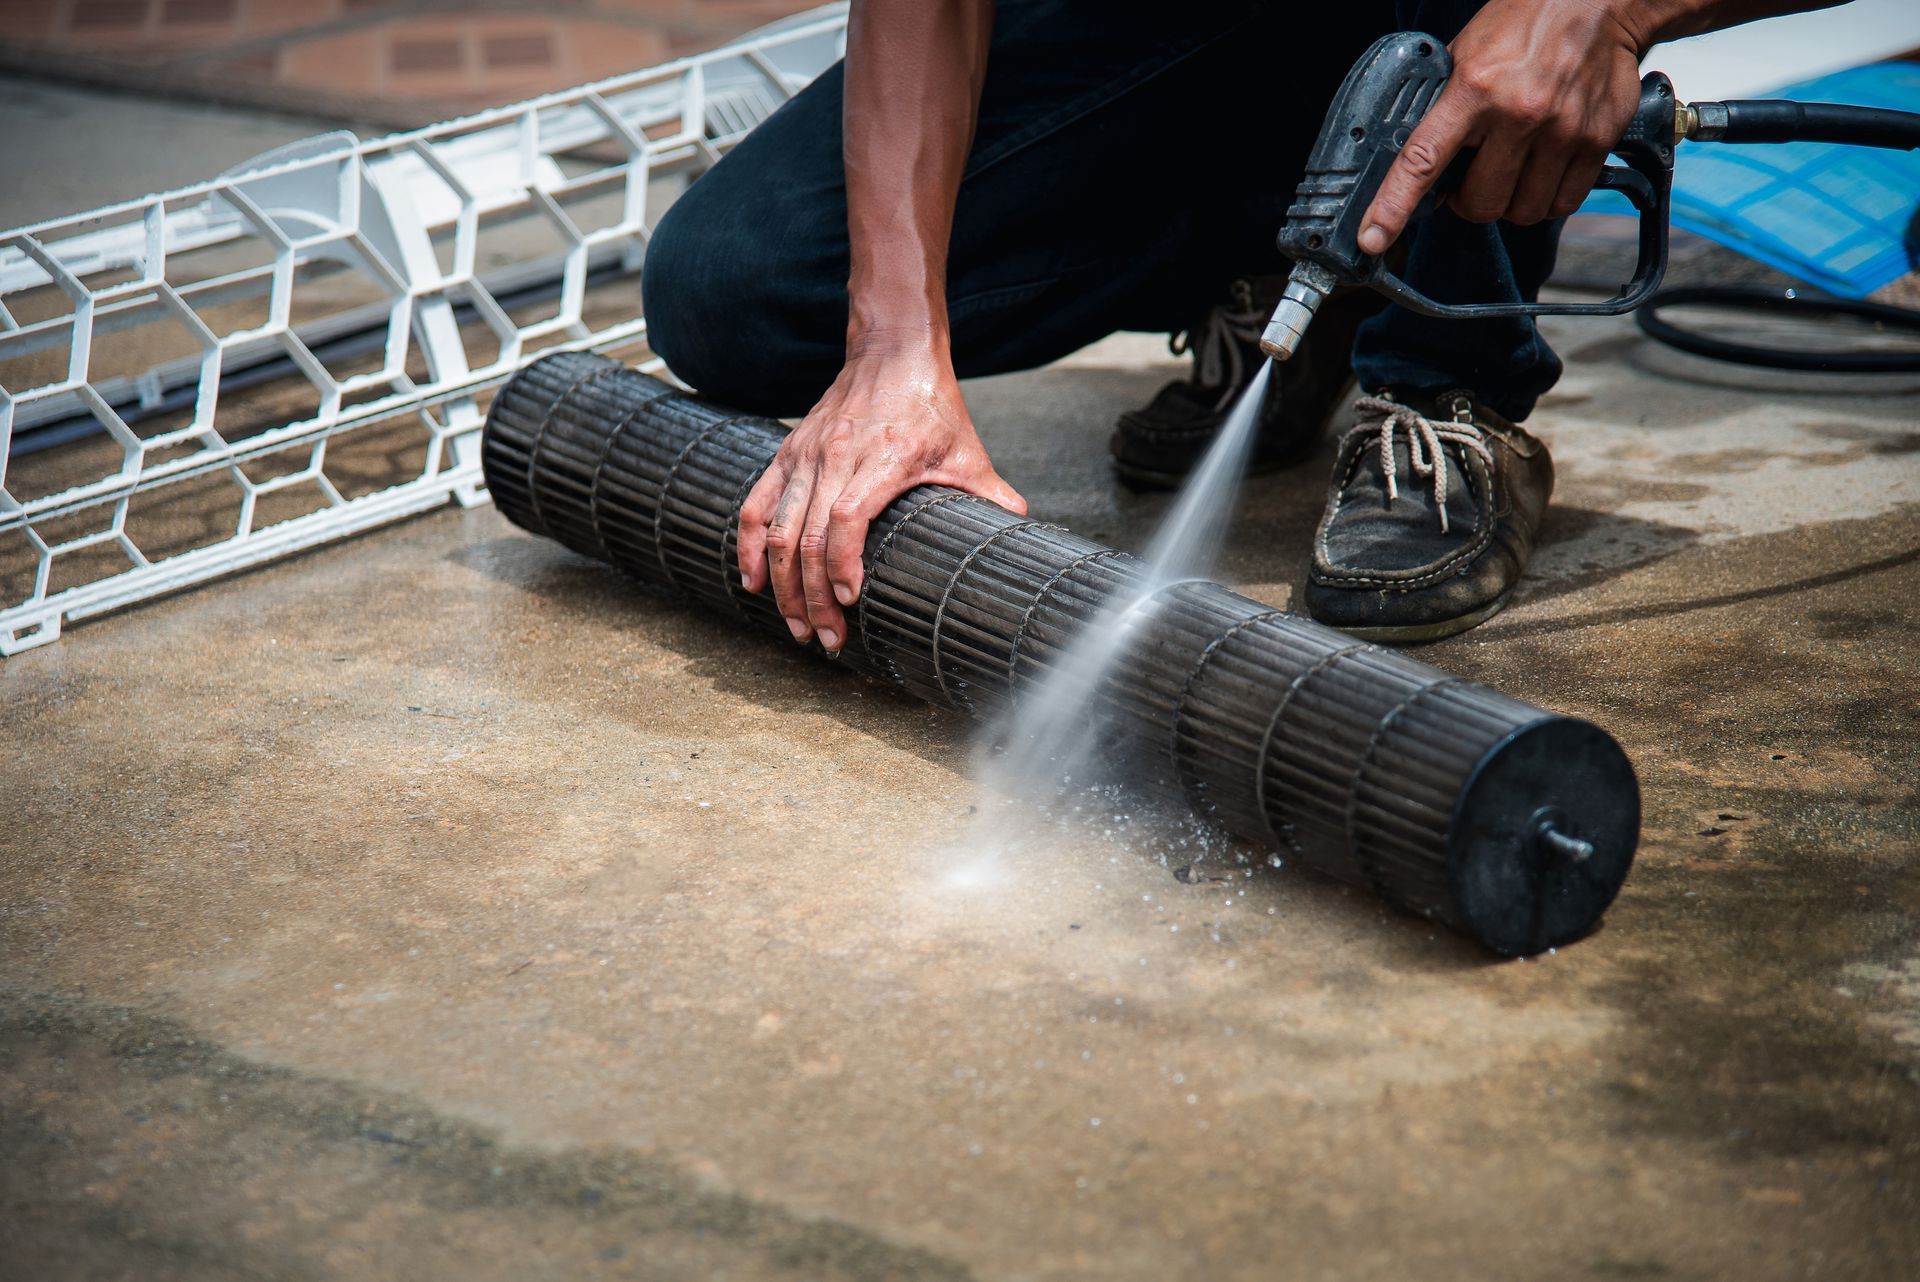
Start with the evaporator coil, typically inside the air handler or attached to the furnace. For proper evaporator maintenance, turn off the power to your AC unit, remove the access panel, and gently brush away any dust or debris using a soft brush or a specialized coil cleaning tool. If the coil is particularly dirty, you may need to use a no-rinse coil cleaner spray, following the manufacturer’s instructions carefully.
Next, move on to the condenser coil in the outdoor unit. Clear away leaves, grass, or other debris around the unit to ensure proper airflow. Use a garden hose to gently rinse the coil, avoiding high-pressure settings that could damage the fins. Regular coil cleaning can prevent common issues such as reduced cooling capacity, increased energy consumption, and potential system breakdowns, keeping your AC in top condition.
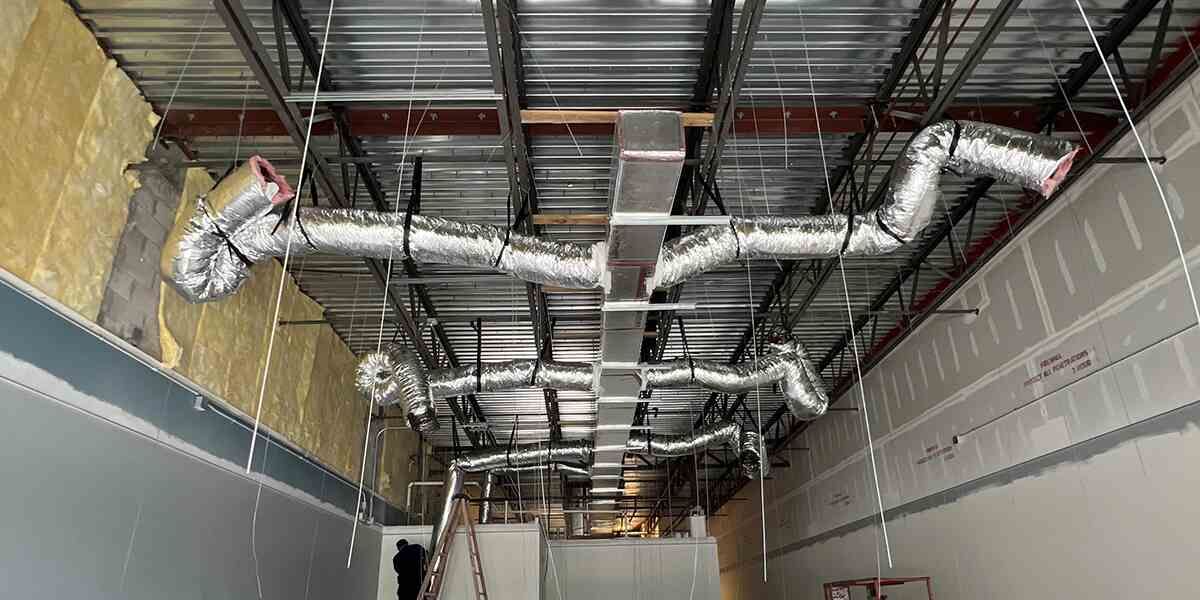
Examine Ductwork
After cleaning the coils, it’s important to examine the ductwork for leaks or blockages that could hinder your AC’s efficiency. Start by visually inspecting the ducts for any signs of wear or damage. Leaks in the ductwork can cause significant energy loss, making your system work harder than necessary.
To detect leaks, turn on your system and feel along the ducts for any escaping air. Duct sealing is vital to maintaining peak performance if you find any leaks. You can use mastic sealant or metal tape to seal these gaps effectively. It’s crucial to avoid using regular duct tape, as it doesn’t provide a long-lasting seal.
Next, examine the duct insulation. Proper duct insulation ensures the cooled air remains at the desired temperature as it travels through your home. Inadequate insulation can lead to energy inefficiency and increased utility bills. If you notice any sections where the insulation is damaged or missing, replace it promptly with suitable duct insulation materials.
Additionally, check for any blockages within the ducts. Debris and dust accumulation can obstruct airflow, reducing the system’s efficiency. Use a vacuum or professional cleaning tools to clear any obstructions, ensuring smooth air passage.
Clear the Drain Line
Clearing the drain line regularly is important to prevent water damage and maintain your AC’s efficiency. The drain line, responsible for removing condensation from your air conditioning system, can easily become clogged with debris, algae, or mold. When a drain blockage occurs, the water that’s supposed to be expelled can back up and cause substantial water damage to your home, potentially leading to costly repairs.
Start by locating the drain line, usually found near your AC unit. Turn off the power to the air conditioner to guarantee safety. Use a wet/dry vacuum to suction out any blockages from the end of the drain line. Afterward, flush the line with bleach and water to kill any remaining algae or mold spores. This step is vital in preventing future clogs and ensuring that water can flow freely.
Regular maintenance of your drain line protects your home from water damage and enhances the efficiency of your AC system. Keeping the line clear ensures that your air conditioner can operate smoothly, providing consistent cooling without the risk of water-related issues. Remember, a well-maintained drain line contributes significantly to the overall health of your AC unit.
Test the Capacitor
Testing your AC’s capacitor guarantees that your system runs efficiently and avoids unexpected breakdowns. Before you begin, it’s important to take safety precautions. First, turn off the power to your air conditioning unit at the breaker to prevent electrical shock. Use a multimeter to test the capacitor after it’s been discharged. Capacitors store electrical energy even when the power is off, so use an insulated screwdriver to discharge any remaining energy by bridging the terminals.
Different capacitor types require specific testing methods. Start by identifying whether your unit has a single or dual-run capacitor. Single-run capacitors control the fan motor or the compressor, while dual-run capacitors manage both. Set your multimeter to the capacitance setting for single-run capacitors and connect the leads to the capacitor terminals. Compare the reading to the manufacturer’s specifications. If it falls outside the acceptable range, replace the capacitor.
You’ll need to test both the fan and compressor terminals separately for dual-run capacitors. Then, follow the same procedure as for single-run capacitors, ensuring your readings match the specified values. These steps ensure your AC unit operates smoothly and efficiently.
Lubricate Moving Parts
Once you’ve verified that your AC’s capacitor is functioning correctly, it’s time to lubricate the moving parts to maintain smooth operation. Lubrication is vital for bearing maintenance, ensuring that the components of your AC system move effortlessly. This step helps reduce friction, which can lead to wear and tear over time.
Start by locating the motor and fan bearings, the primary areas needing lubrication. Apply a few drops of a high-quality lubricant specifically designed for HVAC systems to the bearings. Be careful not to over-lubricate, as excessive oil can attract dust and debris, leading to further complications.
The lubrication benefits are manifold, including extending the lifespan of your AC unit and improving its efficiency. Properly lubricated moving parts will operate more quietly and with less effort, reducing the strain on the motor and other components. This not only saves energy but also minimizes the risk of unexpected breakdowns.
Tighten Electrical Connections
Before you finish your AC maintenance, tighten all electrical connections to guarantee safe and efficient operation. Electrical connections can become loose over time due to vibrations and regular wear and tear. Loose connections can lead to inefficient functioning, excessive power consumption, or even hazardous conditions like electrical fires.
Begin by turning off the power to the unit and following all safety precautions to avoid any risk of electric shock. Use familiar tools such as screwdrivers, pliers, and a multimeter to check and secure these connections. Focus on the control panel, capacitors, and any visible wiring.
Inspect each connection point for signs of wear, corrosion, or damage. Tighten any loose screws or terminal connections you encounter. If you find any damaged wires or components, replace them immediately to maintain the system’s integrity. A multimeter can help you verify the continuity and voltage across various points, ensuring everything functions as it should.
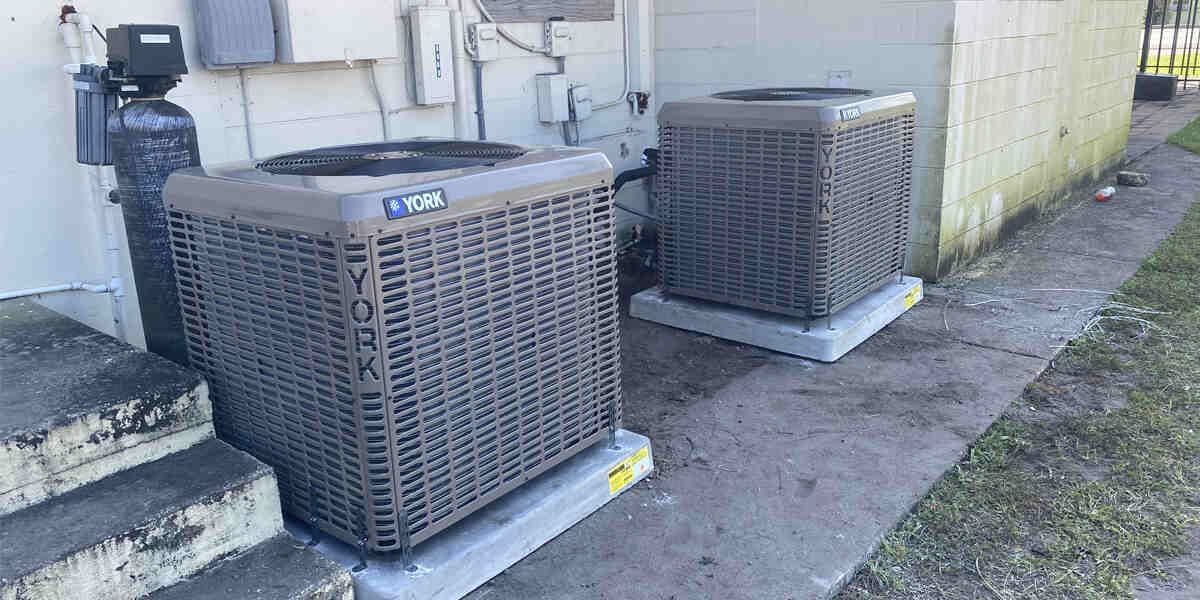
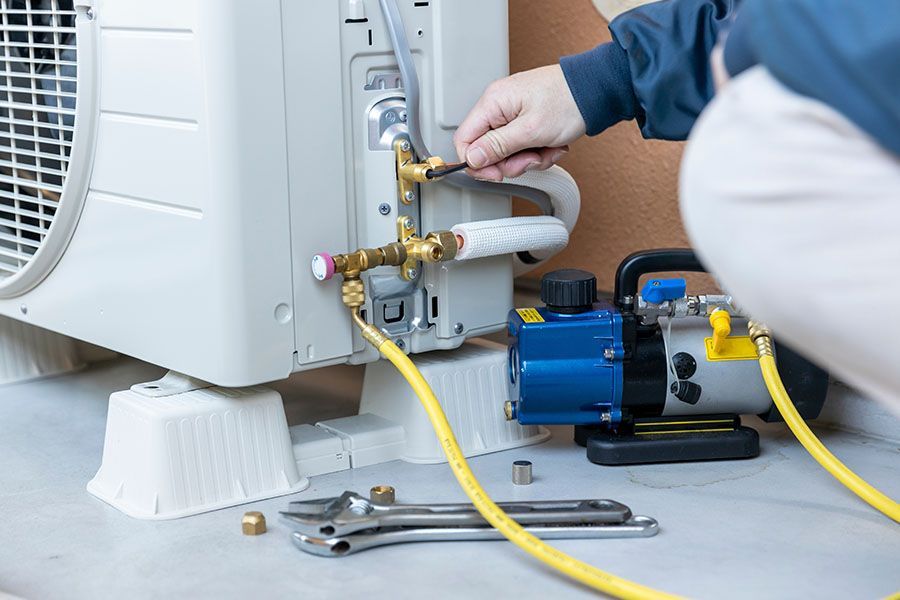
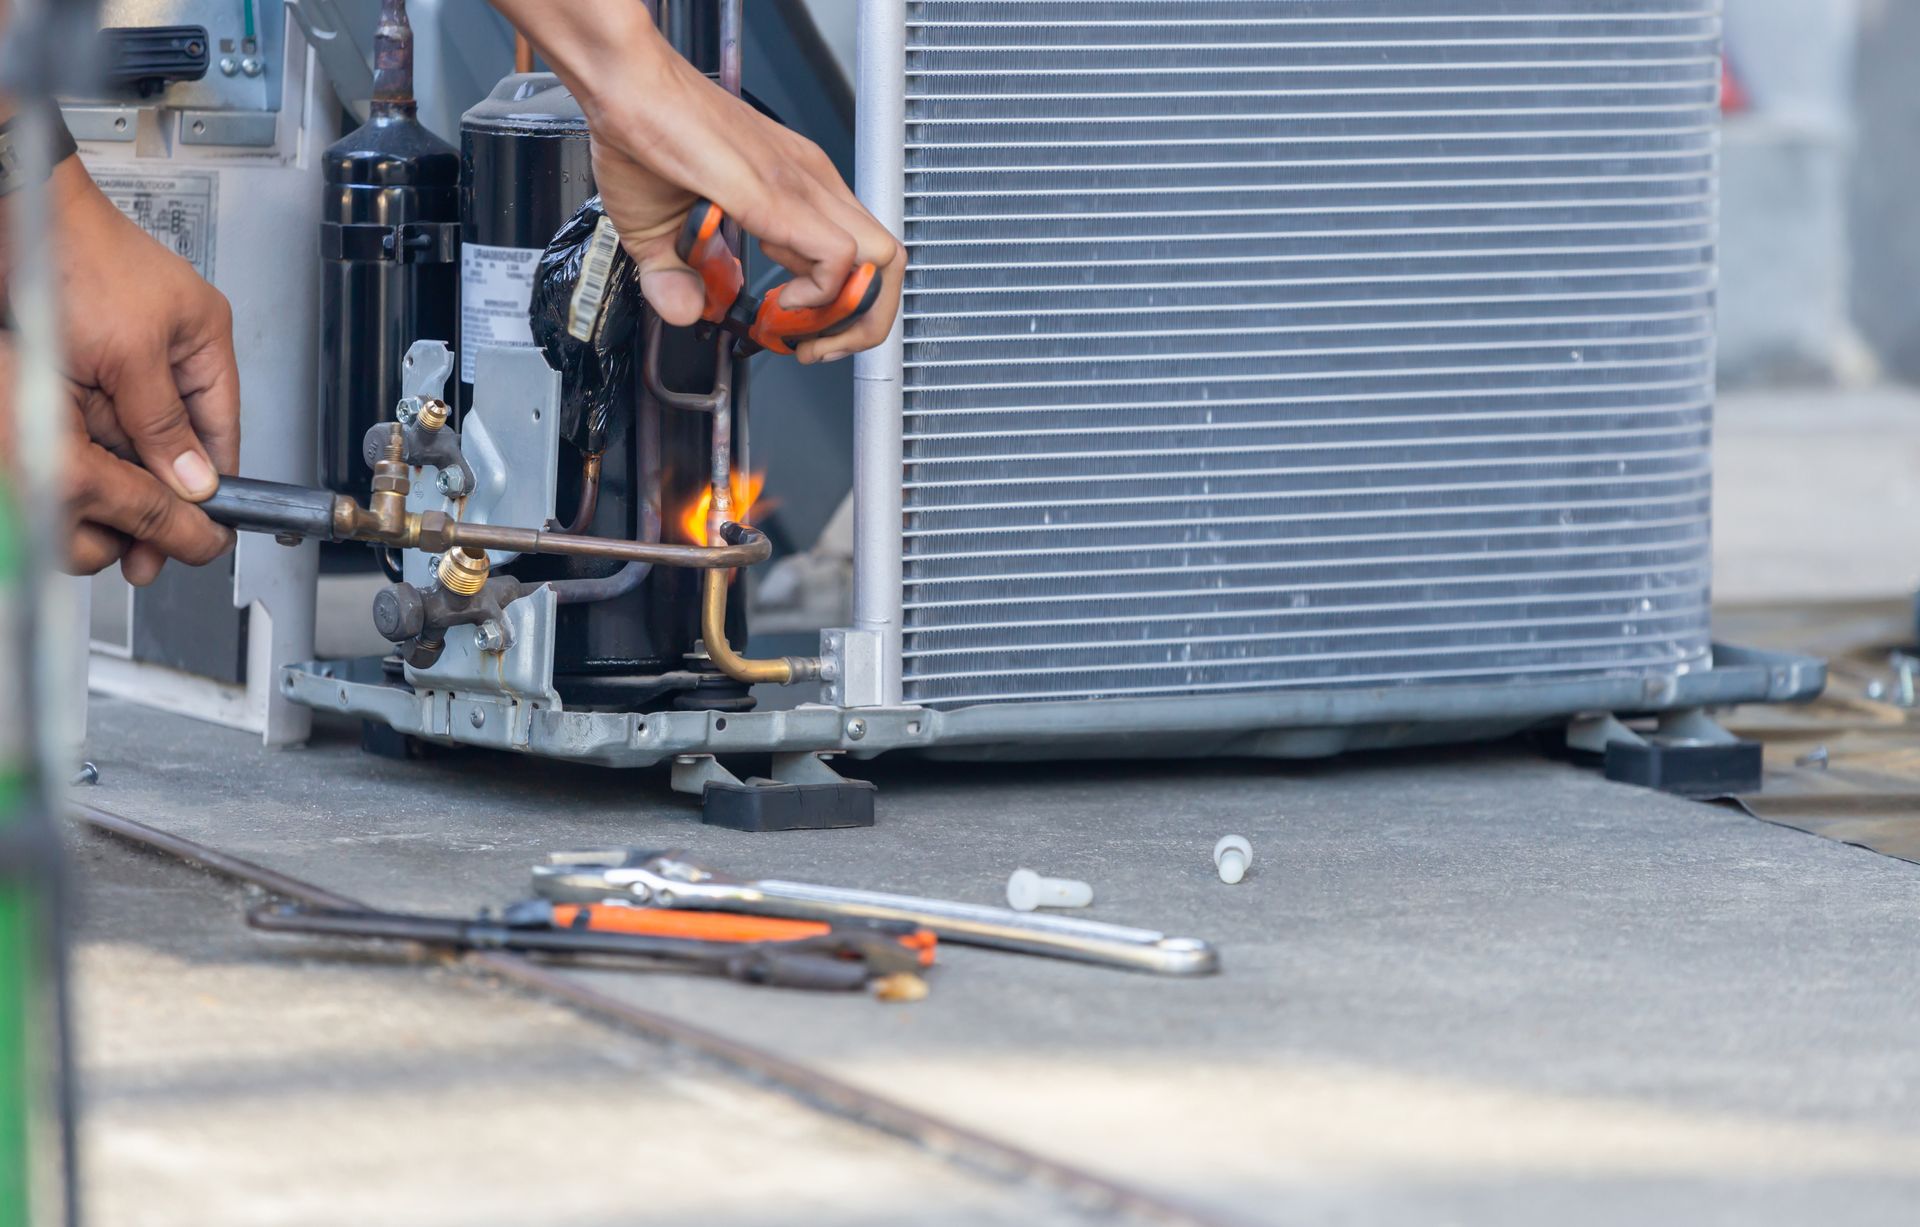
Check Refrigerant Levels
After ensuring all electrical connections are secure, the next step is to check the refrigerant levels to maintain peak cooling performance. The refrigerant is the lifeblood of your AC system, and without the proper refrigerant, your unit can’t cool effectively. Begin by using a manifold gauge set to measure the pressure of the refrigerant in your system. Compare the readings to the manufacturer’s specifications to determine whether the levels are acceptable.
If the refrigerant levels are low, inspecting the system for leaks is essential. Refrigerant leak repair is crucial to address any leaks, as they not only reduce cooling efficiency but can also damage your compressor. Use a leak detector or soapy water to identify leaks in the lines or coils. If a leak is found, repair or replace the damaged components before recharging the system with the proper refrigerant.
Charging the system with the correct amount and type of refrigerant specified by the manufacturer is essential. Overcharging or undercharging can lead to suboptimal performance and increased system wear. Ensuring the proper refrigerant levels will help maintain efficiency, prolong the lifespan of your AC unit, and provide consistent cooling.
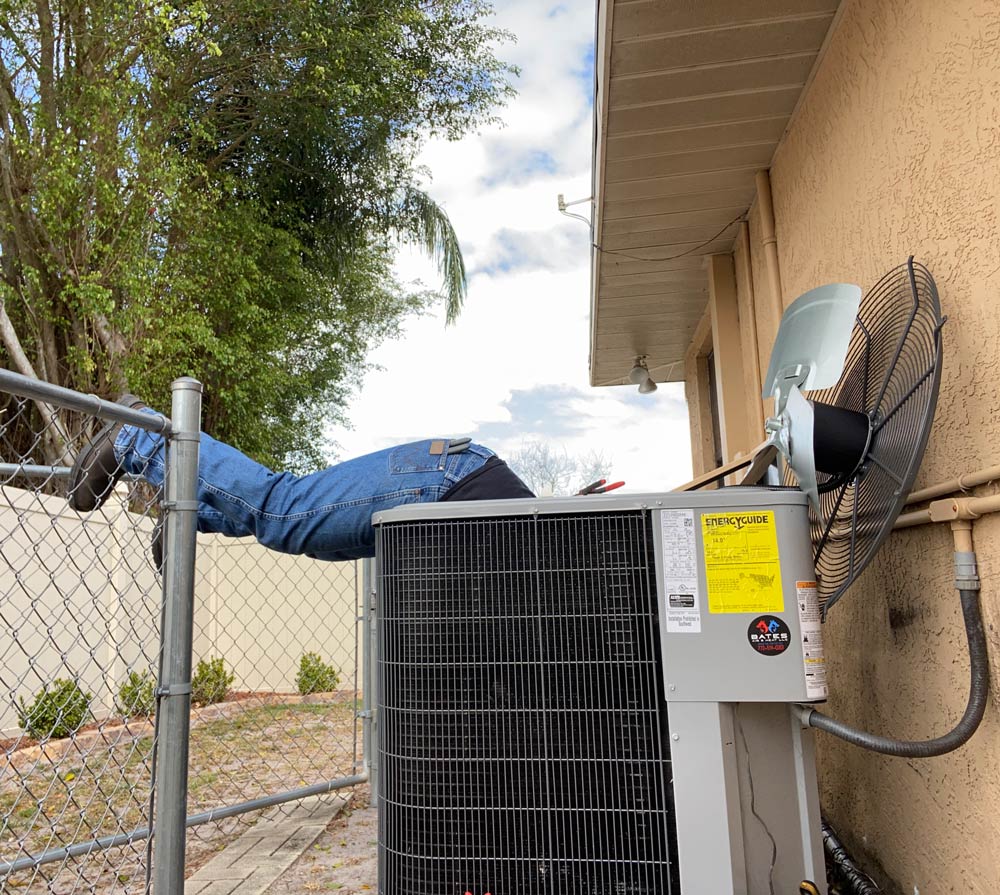
Assess the Fan Motor
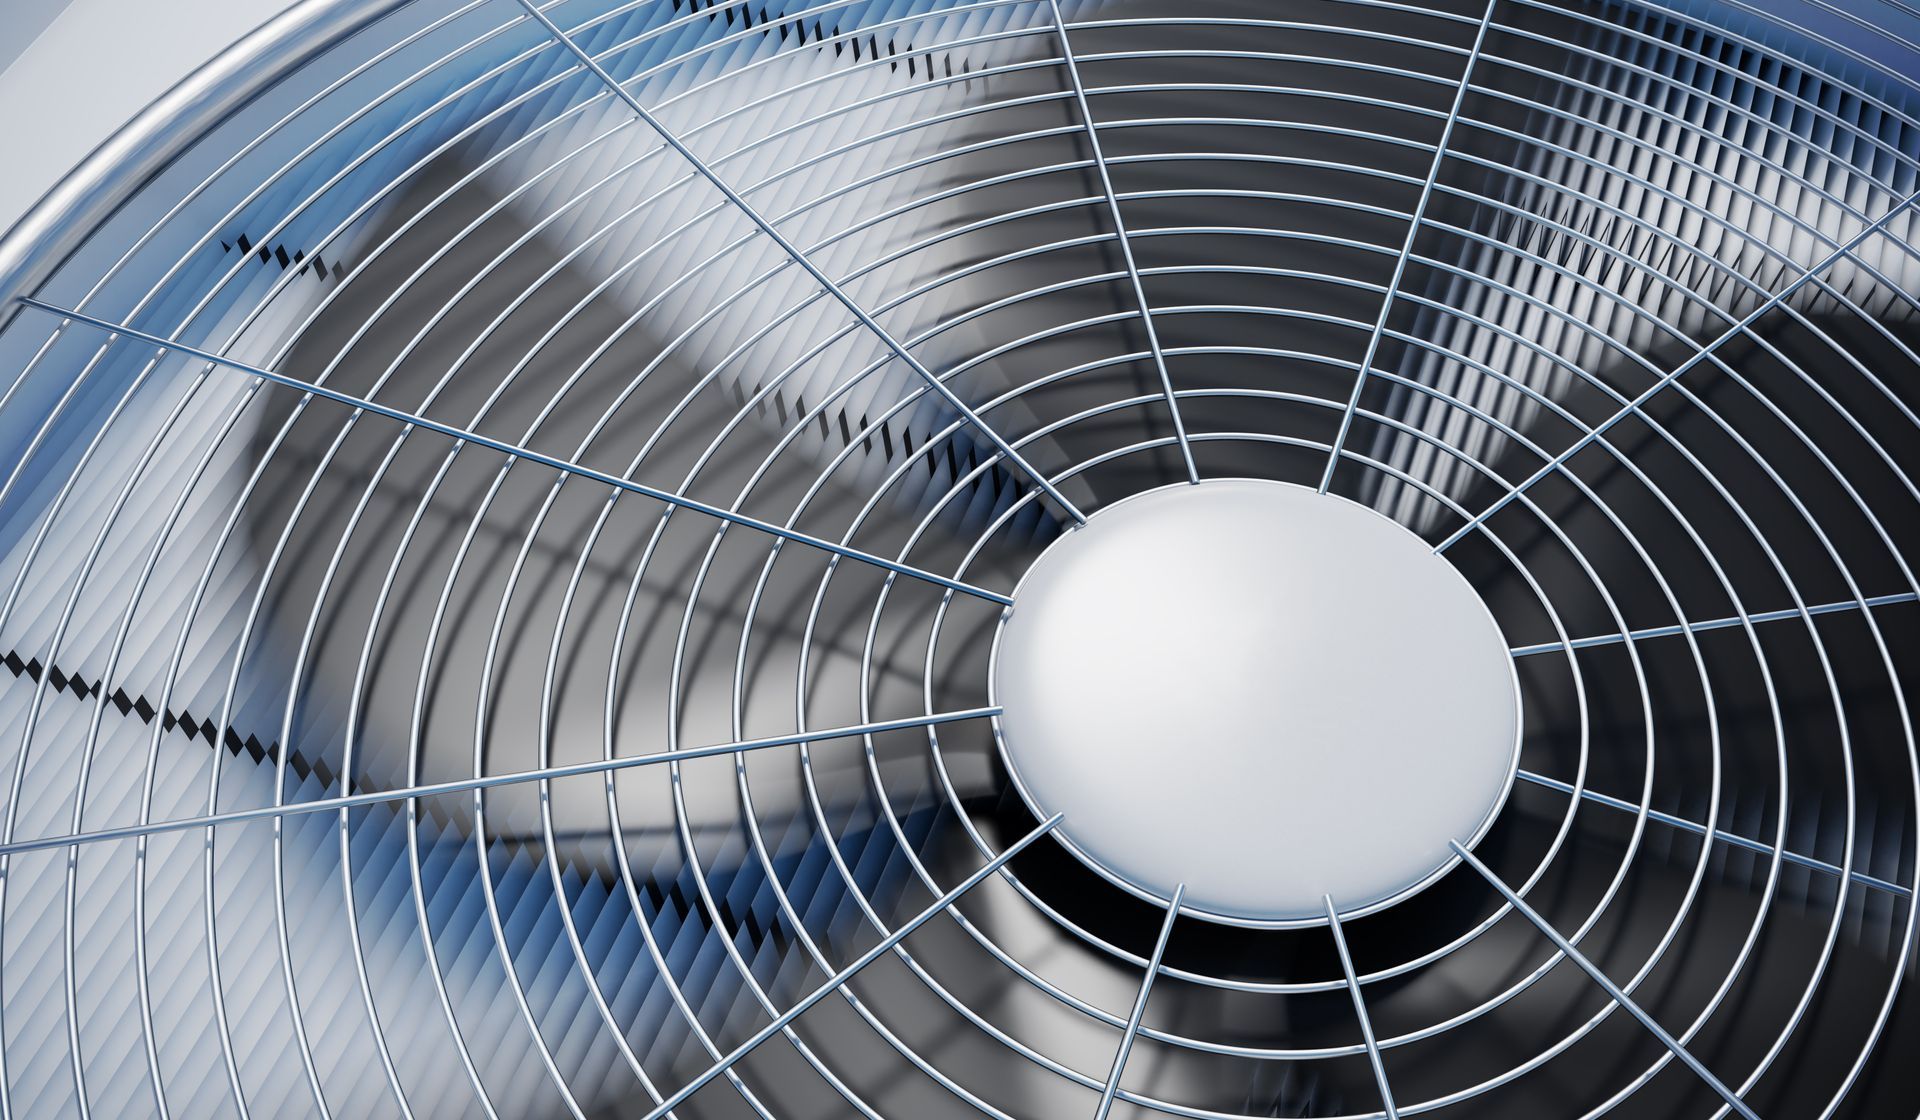
Why is it important to assess the fan motor when troubleshooting your AC system? The fan motor plays a significant role in maintaining airflow and ensuring your system operates efficiently. Ignoring it can lead to serious issues, including motor overheating and system failure.
Start by checking the fan alignment. Misaligned fans can cause vibrations and noise, indicating that the motor works harder than it should, leading to overheating. To assess the alignment, turn off the power to your AC unit and manually rotate the fan blades. They should move smoothly without wobbling or resistance. Adjust the fan blades or consult a professional if you notice any irregularities.
Next, inspect the motor for signs of overheating. An overheated motor can emit a burning smell or have discolored wiring. Remove any debris around the motor since restricted airflow can worsen overheating. Additionally, ensure that the motor’s bearings are well-lubricated, as friction can also contribute to excess heat.
The Bottom Line
Following these crucial tips guarantees that your AC system operates efficiently and lasts longer. Proper thermostat calibration contrasts with overlooked air filter maintenance, just as clean coils differ from clogged ductwork. Regularly clearing drain lines helps prevent water damage while lubricating bearings and tightening electrical connections safeguard against mechanical failures. Checking refrigerant levels and evaluating the fan motor ensure safe operation. Adhere to these guidelines diligently to keep your AC unit running smoothly and effectively.
Frequently Asked Questions